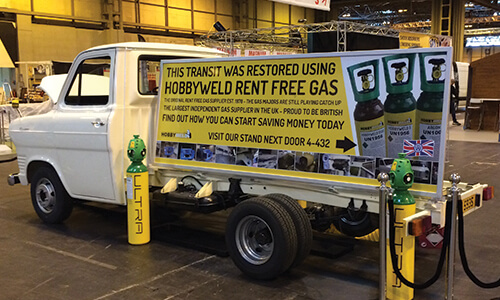
1978 Ford Transit Restoration
![Banner Image](https://hobbyweld.co.uk/wp-content/uploads/2021/04/FTR-BLOG-871x450.jpg)
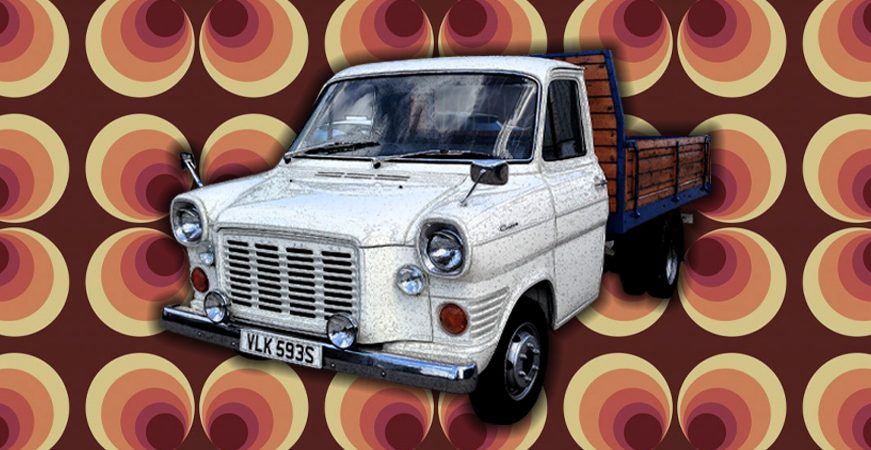
The NEC Classic Car Show Birmingham in November, gave us the opportunity to showcase our newly restored 1978 Mark 1 Ford Transit. With more than 3 years of work going into restoring this van back the classic it was, we take you through the journey from start to finish.
![Ford Transit Ford Transit](https://hobbyweld.co.uk/wp-content/uploads/2018/01/Start-1.jpg)
![Ford Restoration Ford Transit Restoration](https://hobbyweld.co.uk/wp-content/uploads/2018/01/Start-2.jpg)
The task was daunting in the beginning with a lot of parts to salvage and categorise.
Stage 1 – Stripping
![Van restoration Transit Restoration](https://hobbyweld.co.uk/wp-content/uploads/2018/01/Stage-1-1.jpg)
![Car repair Van repair](https://hobbyweld.co.uk/wp-content/uploads/2018/01/Stage-1-2.jpg)
![build car car build](https://hobbyweld.co.uk/wp-content/uploads/2018/01/Stage-1-4.jpg)
![automotive maintenance car work](https://hobbyweld.co.uk/wp-content/uploads/2018/01/Stage-1-3.jpg)
Stage 2 – Blast Cleaning
After stripping the transit, we sent it to Steve Green from The Rusty Bug Workshop for non-damaging soda blast cleaning – Steve is an award-winning classic car restorer with over 20 years of experience, we knew the transit was in safe hands.
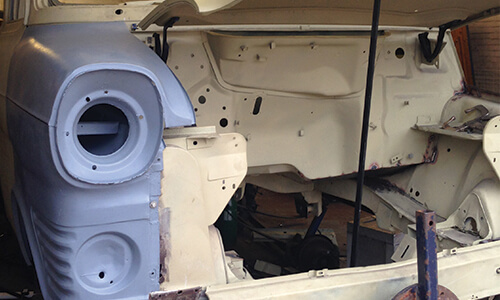
![Weld workshop Workshop](https://hobbyweld.co.uk/wp-content/uploads/2018/01/Stage-2-1.jpg)
![Welding equipment Welding Tools](https://hobbyweld.co.uk/wp-content/uploads/2018/01/Stage-2-4.jpg)
![Welding Equipment Welding Equipment](https://hobbyweld.co.uk/wp-content/uploads/2018/01/Stage-2-5.jpg)
![Car restoring workshop Workshop](https://hobbyweld.co.uk/wp-content/uploads/2018/01/Stage-2-3.jpg)
Stage 3 – Welding
Extensive welding was required on the cab floors and chassis, using Hobbyweld mixed welding gases to achieve the very best results.
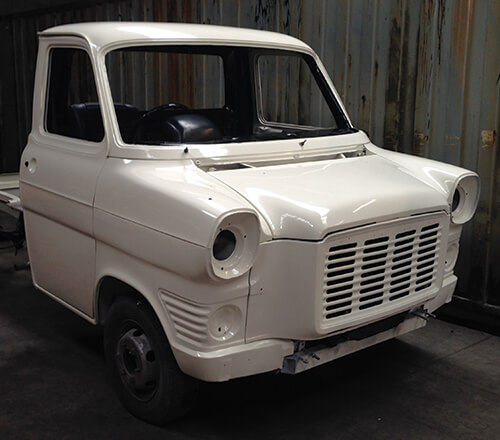
![Gas cylinder in use Hobbyweld Gas Canister](http://hobbyweld.co.uk/wp-content/uploads/2018/01/Stage-3-1.jpg)
![Car interior restoration Car interior](https://hobbyweld.co.uk/wp-content/uploads/2018/01/Stage-3-2.jpg)
![repairs restoration](https://hobbyweld.co.uk/wp-content/uploads/2018/01/Stage-3-3.jpg)
![](http://hobbyweld.co.uk/wp-content/uploads/2018/01/Stage-3-5.jpg)
Step 4 – Painting
The cab and chassis were sent to a professional body shop. C.A.R.S in Westerhope undertook the hefty job of painting the Transit, using high quality paints which are sure to last a lifetime.
![](http://hobbyweld.co.uk/wp-content/uploads/2018/01/Stage-4-1.jpg)
![car repaint paint job](https://hobbyweld.co.uk/wp-content/uploads/2018/01/Stage-4-2.jpg)
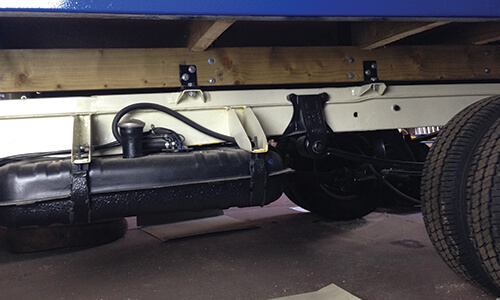
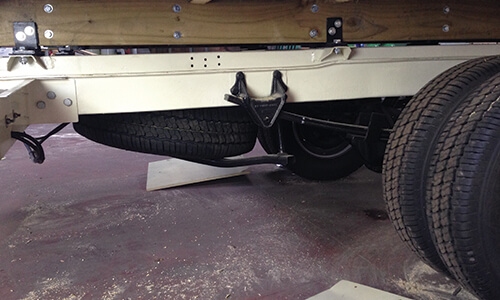
Stage 5 – Mechanical
After extensive work on the body, it was time for the rebuild of the 3.0 litre Essex V6 and other necessary mechanical work. Jobs included; New rings and shells for crank shaft, new brake and fuel pipes, disc brakes fitted, cylinder heads fitted with new seats for use with unleaded, callipers refurbished, 7 new tyres and refurbished wheels.
Most of the interior is standard from original and the pick-up body which is currently (March 2017) under restoration is being fitted, along with new floor panels, wood members to attach to the chassis and treatments being applied.
![mechanical car mechanical](https://hobbyweld.co.uk/wp-content/uploads/2018/01/Stage-5-1.jpg)
![](http://hobbyweld.co.uk/wp-content/uploads/2018/01/Stage-5-3.jpg)
![](http://hobbyweld.co.uk/wp-content/uploads/2018/01/Stage-5-4.jpg)
————————————————————————————————————————————————————————————————————————————–
![Hobbyweld Cylinders](http://hobbyweld.co.uk/wp-content/uploads/2018/01/Last-2.jpg)
![Hobbyweld cylinders No rent gas](http://hobbyweld.co.uk/wp-content/uploads/2018/01/Last-3.jpg)
Article by Stephen Atkinson | Visuals by John Holmes